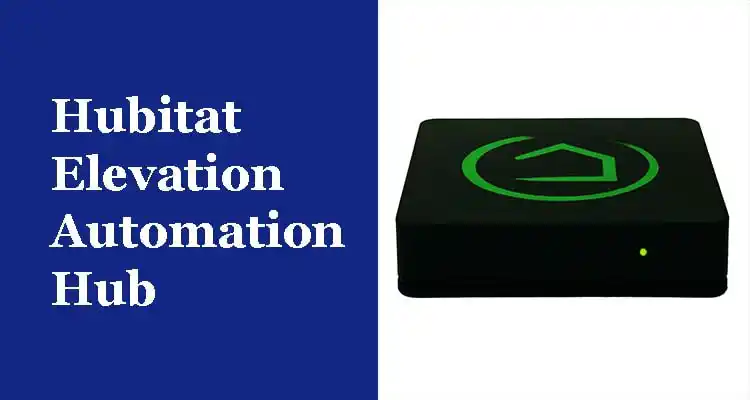
The numerous smart home gadgets in your house are integrated via a smart home hub. There are numerous smart home devices in many homes, many of which are unaware of one another. For instance, a Hubitat Elevation Automation Hub will include a variety of smart lights, switches, thermostats, and other smart devices that operate using multiple protocols (such as Zigbee, Z-Wave, IP/WiFi, Matter, Infrared, RF, and Bluetooth). Most likely, these gadgets are unaware of one another. When you want one device to start an action on another, what happens? Or perhaps you don’t want to hop between different apps only to perform simple tasks. A smart home hub can be useful in this situation.
In addition to this, the Hubitat Elevation Automation Hub is a low-power, open-standard wireless RF communications technology that was created primarily for controlling, monitoring, and tracking the state of home and light-commercial Internet of Things devices. It is capable of being utilized with or without a coordinator node and provides complete mesh networking (Hub).
Hubitat Elevation Automation Hub Setup
Before starting the setup of the Hubitat Elevation Automation Hub Setup, the kit should be completed by having all the below-mentioned items.
- The Hubitat Elevation hub has built-in Zigbee and Z-Wave radios for communication with your device’s
- First “Get Started” card (keep reading, scan the code, or launch getstarted.hubitat.com on your own to get going!)
- 1 x USB micro-cable
- 5 volt Ethernet cable adapter (1)
This is it. Complete the items in your kit to begin the secure setup of the automation hub.
Safely establish the connection with Hubitat Elevation Automation Hub
Follow these instructions to ensure the safety of the automation hub.
- Find an appropriate spot first so that we can have the finest experience possible.
- Your new Hubitat Elevation hub communicates with compatible smart home devices using Zigbee and Z-Wave technology. T
- Also, radio waves can be interfered with or weakened by metal items and building materials.
- So choose a spot that is free of metal impediments and as close to the center of your home as you can for the best performance.
Begin the Installation
Go through these installation instructions so that the setup of the Hubitat Elevation Automation Hub can be completed efficiently.
- Connect your Hubitat Elevation to the Ethernet connection that is provided.
- The other end of the Ethernet cable is plugged into a free LAN port on your own router or the modem/router combo device that your Internet service provider provides.
- The accompanying micro USB cable should be inserted into your Hubitat Elevation hub, and its other end should be connected to the power adapter.
- To start the boot procedure, plug in the power adapter.
NOTE: During boot-up, the light on your hub will glow blue and stay that color until the hub has fully booted. The indicator will turn green once your hub has finished booting and is prepared for use.
Complete the registration of the Hubitat Elevation Automation Hub
To find your Hubitat Elevation hub on your local network automatically, go to findmyhub.hubitat.com via your web browser. Your hub ought to show up in the list of hubs labeled My New Hub. (Alternatively, you can scan the QR code on the documentation insert that was included with your hub, go to getstarted.hubitat.com, and follow the prompts there, which will eventually lead you to the steps below after discovering your hub.)
Registration Process
- First you have to Decide whether to click Connect to Hub.
- Then, decide to click Get Started.
- The Terms of Service page will then be displayed to you. The Continue button won’t show up until you click the box and accept the terms.
- Choose a name for your hub, possibly one that reflects where it is located.
- If you are in the US, UK, or Canada, enter your postal code; otherwise, click the I’m not in the US/UK/Canada option to manually configure your location and time zone. By providing the hub with your precise location, it will be able to determine when sunrise and sunset are for your area, enabling some scheduled automation to proceed as planned. Select Continue after that.
- By entering your email address, choose to Create an account, and according to the instructions, you can create a Hubitat account. Utilizing the Hubitat mobile app and other cloud capabilities requires the creation of an account. Choose the link to log in instead if this is not your first Hubitat hub or if you already have an account.
You’re nearly finished! The hub interface with the opportunity to add your first device should now be displayed to you. To add your first Z-Wave or Zigbee device, choose to Find by device type or Find by brand and then follow the on-screen instructions. You can also choose to skip this step and go straight to the hub interface. Later, under Devices in the left-side menu, you can add other devices. For more help, read the Hubitat Elevation Automation Hub manual.
Hubitat Elevation Automation Hub Troubleshooting Guide
If you are having issues with this gadget. You can thus use the answer that is provided in the following paragraphs as a starting point.
- If Hubitat Elevation Automation Hub not working nor is it visible in the list or connected. So, before disconnecting from the router, restart your gadget by just unplugging it. Plug the device in and wait a few minutes to set up a technical issue before restarting the device. After that, attach it to the new device and connect it to the power switch.
- If your device won’t turn on or has no visible light. So, make sure your device’s power supply connection is secure. Try to plug it into a different power outlet or check to see if the power is on or not. If you connect the Hubitat Elevation Automation Hub to a different outlet, it will operate. Then it started to work. Therefore, the outlet is inoperative.
- If you connect this to a functional outlet. Thus, it is ineffective. The power adaptor is therefore not providing electricity. Your device’s power adapter has to be changed.
- Examine the habitat motion sensor as well as the Ethernet cable contention between the hub and router. On occasion, problems prevent the internet from functioning. Therefore, unplug the gadget from the internet and install a new Ethernet wire. The new cable should then be used to link the hubitat hub to the router.
These troubleshooting instructions will help you to solve the problem with the device.
Review
The Hubitat Elevation Automation has a connection to a smart home appliance and has good controls. Provided a hubitat elevation assessment based on my personal opinion. I bought this appliance for our home a week ago. I wired this thing up to my phone, air conditioner, television, fans, doors, vacuum, camera, and other things. Additionally, connect it to Alexa so you can issue commands verbally without clicking any buttons. I used the mobile phone app to configure this device. I make all of my home technology, and I genuinely love using this one. Few individuals who saw this hubitat hub at my house purchased it.