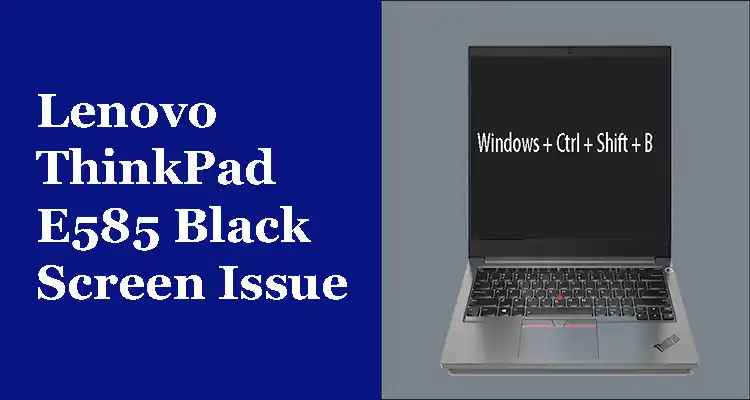
Lenovo ThinkPad E585 black screen issue happens after you have updated Windows 10 to the latest version. These days, many users have already received Windows 10 in their ThinkPad E585. However, after installing the operating system, you will get a black screen. You may notice that your laptop is restarting with the same problem.
If you’re a Lenovo ThinkPad laptop user and you’ve come across a black screen issue, then you may be panicking. But don’t worry. This blog will show you how to fix the black screen issue on your Lenovo ThinkPad laptop.
What is Lenovo ThinkPad E585?
Lenovo ThinkPad E585 is a laptop for business-minded people. It combines the best of both worlds – performance and practicality.
It has a 15.6″ display and weighs 3.8 pounds which makes it easy to carry around in your backpack or briefcase. The battery life lasts up to 11 hours, so you can work on it for long periods of time without having to worry about charging it every now and then.
Ways to Resolve Lenovo ThinkPad E585 Black Screen Issue
Reset the Screen Mode or Display.
The majority of the time the black screen is just a minor flaw that your laptop is witness to. It occurs whenever you run the Windows operating system and fails to establish a connection to the display. These steps will help to restore the mode of display when this type of problem occurs.
Related post- Guide on Razer Blade 15 2018 H2 Laptop
Step: Tap on Windows with Control and Shift keys in tandem.
This resets the connections, and Windows OS may regain the display. After that, test whether it’s working and you should be able to see the regular display of the Lenovo laptop. If this doesn’t solve the issue, go to the next step.
Connecting an External Monitor to Test the Display
If the method previously used for resetting the display fails then it could be an issue with the display. To determine if the laptop’s screen is damaged you’ll need an external monitor as well as HDMI DVI or VGA cable that is compatible with your laptop. Follow the steps below to examine the display.
Step 1. Attach the screen to your Lenovo laptop with the HDMI cable.
Step 2. Switch the external display as well as the laptop. Then wait for a few minutes until it starts.
Step 3. Click on the key ‘Fn’ and then on the “CRT/LCD” tab (either F5 or F8). Keep clicking until the contents of your laptop appear on the monitor on your external device.
Connect the Non-essential Peripherals Devices
As is evident in a variety of cases often, peripheral devices, such as external hard drives or printers can affect the performance of laptops. From incompatibility with devices to damaged hardware, it can be the result of any. If your external device is infected by an infection and you connect it to your laptop without knowing it could affect your laptop’s functionality.
If this is the case it’s possible to uninstall the non-essential peripheral devices and check whether the Lenovo laptop’s black screen can be resolved.
Hard Reset of Your Lenovo Laptop
Similar to non-peripheral devices, peripheral devices may also cause your Lenovo ThinkPad’s black screen problem. Are you seeing some dots spinning during the process of booting up? If so, you need to perform a complete reset on your laptop in order to verify the problem. These steps will help you how to do this.
Step 1. Make sure to turn off your Lenovo laptop before you do this.
Step 2. Remove the power cables to your laptop. Take the battery off gently and unplug all peripheral devices from your system.
Step 3: Let your laptop idle for 30-40 seconds.
Step 4. Now, hold the power button for about 60 minutes.
Step 5: Put the battery in the laptop, then switch it on.
Make sure you update your graphics driver
Lenovo laptops that have black screens could also happen if you are using the wrong drivers for graphics or an old one. You won’t be in a position to update the driver with an unresponsive screen, will you? In this instance, you could try turning on your laptop using safe mode. When you turn on the laptop using safe mode, it could be able to update the graphics driver. Follow the instructions below to boot your PC in a safe operating mode.
Step 1. Click the Power button and switch the laptop on.
Step 2. Hit the F8 key repeatedly until the laptop begins to open.
Step 3. After displaying the hardware information, a window will appear with the name Advanced Option for Booting.’

