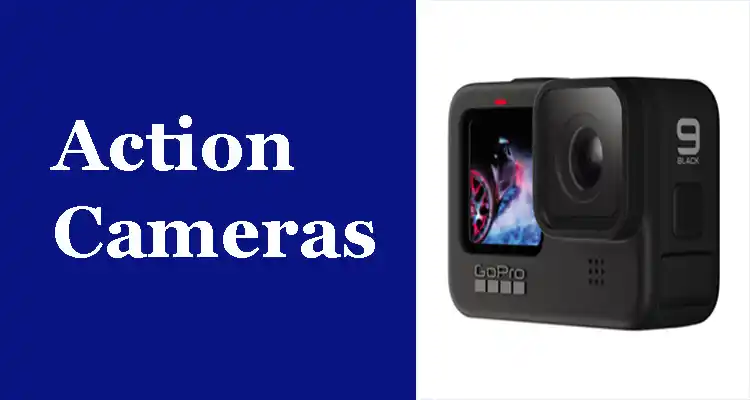
Action cameras can be a great supplement to any photographer or filmmaker’s toolkit. They are a great way to capture footage from a perspective not possible with a traditional camera. The cameras can be mounted on helmets, surfboards, cars, skateboards, etc. There are a lot of these cameras on the market now. The two biggest players are GoPro and Sony. The best ways to connect an action camera to a Windows PC are still debated. This blog will cover the 3 major options: USB cable, Bluetooth, and WiFi.
Why Action camera head mount setup is Needed?
Action camera head mount setup is an essential thing to do with action cameras. It helps to capture the action while engaged in it. Organize the shots while doing the target activity. It is also a good setup to have the best action shots.
An action camera head mount setup can be called an endoscope rig. It is a camera mounted on a rig that connects to the head of the person. The camera is attached to a mount on which it can be rotated. The camera is on one end of the flexible Gooseneck. So that it can be aligned with the direction of view of the person. The camera is mounted on a mount that is extended up to the operator’s head. The camera can be tilted and rotated to get the best angle of view.
Ways to Connect Action Cameras to a PC
To connect an action camera to a PC, you have three paths:
- USB Connection
- Bluetooth Connection
- WiFi Connection
Let’s start with starting with the USB Connection and talk about how to achieve it, then move on to its Pros.
USB Connection
Every action camera includes a USB cable to assist you in making a secure connection to your PC.
Step 1.: Pull your cable, connect it to the USB end of your computer, and connect another end with the camera. The nature of the USB cable is also different from one product to the next. The GoPro models generally have USB-C cables, while others may come with either Micro USB-B or Mini USB.
Step 2. When you’ve completed the cable connection you’ll be informed about connectivity on your computer.
Pros:
USB cables are able to transfer data at a high speed and with accuracy.
The connectivity is very solid as well as stable.
Similar Post- Nest Indoor Security Camera Easy Installation
Bluetooth Connection
Moving away from the wired connection Bluetooth connectivity is the initial option that connects an action camera to a computer.
Step1. Check that you’ve switched on Bluetooth for both the cameras, devices, and your PC. The majority of modern computers have built-in Bluetooth.
Step 2. When you’ve turned on the Bluetooth, open the window for connection on your computer and then navigate to connect with your new gadget. On your camera, make sure it is on Search Mode. Bluetooth is in Search Mode.
Step 3.: When both devices have established a stable connection, click “Pair” from your computer and your camera.
Step 4: Now, you are able to access all files that are on the camera via your computer.
Pros:
- Bluetooth connections are distinguished by a lower risk of dropping connections and data corruption.
- It also eliminates the burden of finding and securing the cables.
WiFi Connection
We also are able to use the WiFi option to connect an action camera to a computer.
Step 1: Each camera comes with a different button that can be used to turn the WiFi off. You can find this information for your camera within the manual for instructions. After turning on the camera, switch on your computer and then open “Network and Sharing Settings.”
Step 2. On the Networking Window, you will be able to see the name of the camera displayed as a brand-new WiFi connection. Connect and type in the password that you also have chosen as default (you will locate this password within the manual for instructions).
Step 3. After you have filled in the password, you’ll notice that it states “No Internet Access.” This means you can’t access the internet access until you have been connected to the internet and your computer has been connected to a camera.

